

As a paw parent, you are responsible for the well-being of your furry companion. This includes overseeing your dog’s grooming, which is defined by Wikipedia as “the hygienic care and cleaning of a dog.” Dog grooming may be done by your trusted veterinarian or professional dog groomer on a regular basis. However, as a dog owner, it helps to groom your own dog at home to ensure he is clean, comfortable, and healthy. Grooming allows you to check on his skin, hair, ears, eyes, teeth, and nails while keeping an eye out for potential problems. The repeated act of grooming him also strengthens your bond and gets him used to the idea of being touched as he keeps still. The practice of grooming your dog at home includes brushing his hair (the frequency depends on his fur type and length), bathing him (the frequency depends on his health, breed, coat, activity level, and where his activities take place), clipping his nails, and even trimming his hair when needed.
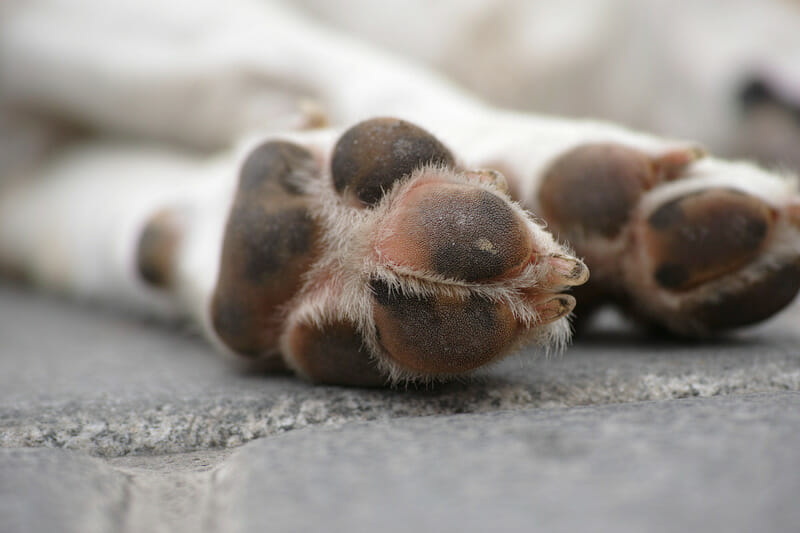
When it comes to your dog’s nails, these should be generally kept short because he would have a difficult time walking with long nails. Uncut dog nails grow and curl into a spiral shape, which may pierce the paw pad and result in pain or infection. If you are considering clipping your dog’s nails, read on to discover the:
- Tools you need to clip your dog’s nails
- Different kinds of nail clippers
- Ways to prepare yourself and your dog for nail clipping
- Steps to clipping your dog’s nails
Dog nail clipping tools you’ll need
Arm yourself with the right tools so you can trim your dog’s nails properly:
- A well-lit area with a sturdy table that can be used as your grooming table
- A comb or brush
- Grooming clippers, in case you need to trim his paw hairs (the higher the blade’s number is, the shorter and finer the cut will be)
- Dog nail clippers
- Dog treats
- Styptic powder, in case of bleeding (you can also use baking soda, baking flour, or cornstarch)
Kinds of nail clippers
When buying dog nail clippers, you can choose from these common types depending on your dog’s size and his nail thickness. Make sure to pick a pair that is safe and convenient for you, produces a precise cut in one stroke, and stays sharp for a long time.
Guillotine-type nail clippers
Ideal for small to medium breeds, this type of clippers is ideal for people who suffer from hand pain or arthritis. Inserted through a stationary ring, the nail is cut when the blade comes down as the handles are pressed. Replacement blades can be bought to swap out the part as soon as it loses its sharpness, so you don’t have to buy a new set every time.
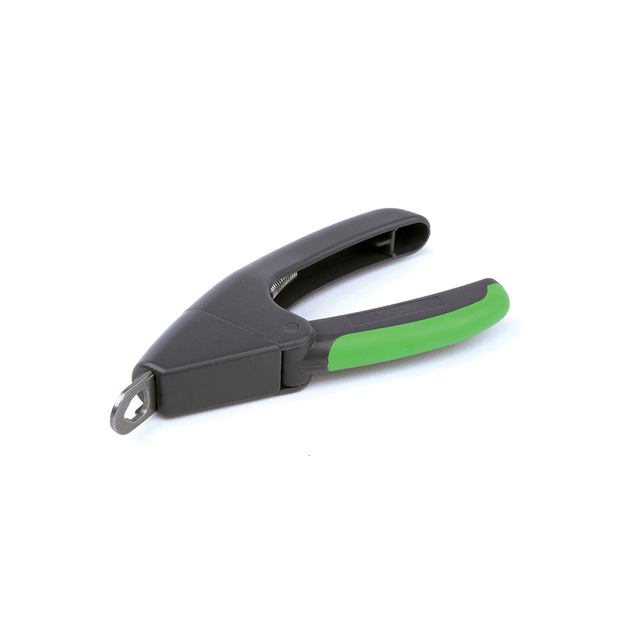
Guillotine-type nail clippers from Pet Circle
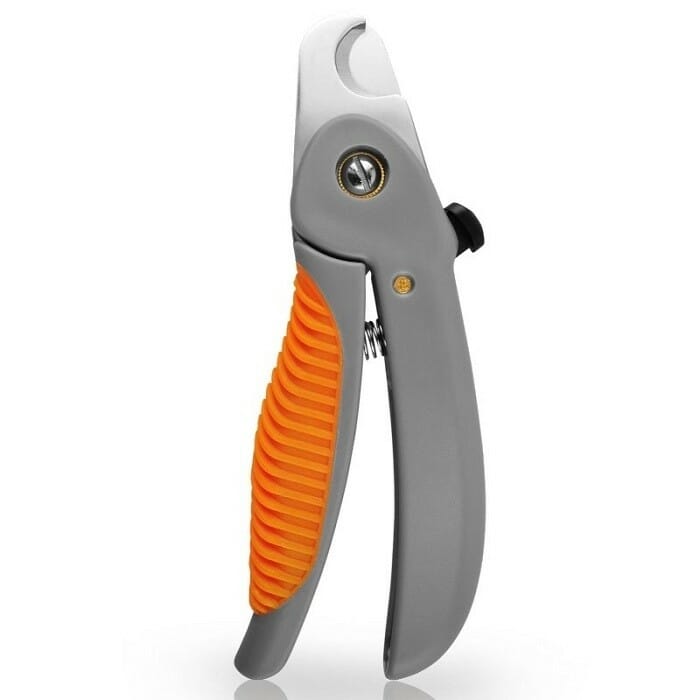
Scissors-type nail clippers
Resembling a pair of scissors, this kind comes with two handles that control two blades. A small half-circle is designed in one of the blades, which is where you insert the dog’s nail. Scissor-style trimmers work best on longer nails that have curled up, or for dogs who are less than 10 pounds. This pair also needs to be sharpened from time to time.
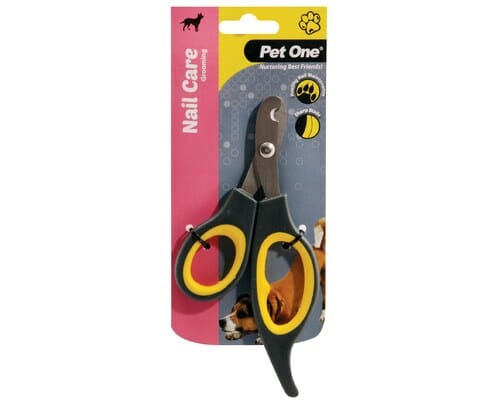
Scissors-type dog nail clippers from My Pet Warehouse
Pliers-type nail clippers
This usually comes in a bigger and sturdy format, which is great for large dog breeds or any size in general. When used, the pliers-type creates a popping sound that might frighten sound-sensitive dogs. Just like the scissors-type clippers, its blade also needs to be regularly sharpened or it may accidentally crush or twist a dog’s nails.
Pliers-type dog nail clippers from Petbarn
Dogs with bad experiences with nail clippers may be more open to using a nail grinder. Instead of trimming the nail in one swift cut, the tool gradually grinds the nails into the preferred length and gives them a smooth, rounded edge.
How to prepare for a nail clipping session
Prepare yourself:
- Do your research before you even consider clipping your dog’s nails! Watch tutorials (this YouTube clip shows you how to cut your dog’s nails whether he has white or black-coloured nails) and read our step-by-step guide until you feel confident enough to do it.
- Ask your veterinarian or dog groomer to recommend the best type of clippers to purchase for your dog, and to demonstrate how to use it during your next visit.
- Test the tools before you actually use them on your dog. Feel the weight of the tools in your hands. Open and close the clipper, grip it using your dominant hand, and check to see if the blades are sharp enough.
- Always remember to “clip the tip and not the quick.” This means that you should clip a little at a time to avoid hitting his nerves and blood vessels.
- When you finally decide to clip your dog’s nails, be sure to approach the process in a relaxed manner or your dog will feel your anxiety. Pay attention to your dog’s body language and clip his nails when he is feeling calm and relaxed. As you go through each nail, watch for signs of uneasiness such as pulling away his paw or yawning repeatedly.
Prepare your dog:
- Start grooming practices as soon as you bring your puppy home to make him accustomed to being touched in various parts of his body. Dog trainer Lori Nanan suggests pairing body-handling exercises with treats.
- Help your dog develop a positive association with nail clipping. Days before you clip his nails, make him feel relaxed by massaging him and pressing on the parts you’ll be holding (i.e. paws, toes, nails, and legs). You can also familiarise him with the pose you’d like him to do as he gets his nails clipped.
- Make your pooch get used to the clipper a few days before using it on him. On the first day, position it near his nails and feet, then praise him and give him a treat. Repeat this for 10 to 15 times. Do the same process the next day, but add the motion of the clippers so that he can see how it looks and hear the sound it makes as it moves.
- If your dog tries to growl or nip you as you touch his paws, stop what you’re doing so you don’t get harmed. Speak with your veterinarian or a dog behaviour consultant on the best way to address this concern. Your dog may be experiencing pain or could have past trauma associated with paw touching.
How to clip your dog’s nails
Once you’ve gained confidence, mastered using the clipping tools, and familiarised your dog with the process, it’s time to clip his nails following this step-by-step procedure:
- Get him to stand on a sturdy table or a grooming table with a grooming arm. You can also allow him to sit on your lap, as long as he can hold the pose and you can easily control his movements throughout the nail clipping.
- Use your dominant hand to hold the clippers, and use your other hand to hold his paw. If you want to limit your dog’s movement, you can lightly lean over his body as you clip his nails.
- Gently press on the knuckle to extend each nail. Put the nail through the blade/s of the clippers. The trimmer handles can be held pointing toward the floor or toward the ceiling. Just make sure that the cutting blade faces you and not your dog.
- Close the clippers quickly to take off a small piece of the nail so you don’t end up hitting the quick. For dogs with light-coloured nails, the quick ends where the pink colour changes to white when viewed from the side of the nail. For dogs with black-coloured nails, look at his nails from underneath the tips. Start off by trimming the hooks. The dead area is usually whitish in colour, and as you cut into the nail, you’ll need to stop when you see the solid black center (which is the live area).
- Your dog has dew claws, which are found on the inner sides of his paws. They do not touch the ground because of their position, so they may be longer than his other nails. You can use guillotine-type clippers to trim these claws.
- Accidents happen no matter how many times you’ve clipped your dogs nails. If you unexpectedly hit the quick, apply pressure to your dog’s nail using a tissue or towel then apply styptic powder to make the bleeding stop. You can also apply ice on the nail to slow down the bleeding.
- Praise your dog as you clip his nails. Feed him treats after each nail is clipped. Don’t force yourself to finish trimming all his nails in one day.
You won’t have to clip your dog’s nails every day, but it has to be done habitually depending on how fast his nails grow, his breed, and his size. As with any pet-related activity, nail clipping should be done with patience and love to make the experience a positive one for you and your dog.
Click here to discover the other ways to groom your dog at home, such as brushing his hair and giving him a bath. If you’ve just recently brought home a puppy, read this helpful guide to learn what to expect during his first year with you!


Leave a comment
Your email address will not be published. All fields are required.